
Visual Discipline in Photography: Restricting choices to boost creativity
We all know the feeling. You open Netflix, scroll for a few minutes through hundreds of movie titles, and then put down the remote. The endless choices rendered you, paradoxically, unable to choose anything. The same scenario unfolds in creative endeavors, where unlimited options–of subject, colors, mediums, tools–paralyzes the artist, stifling not just creativity but also productivity. There’s ample scientific backing to the idea that by restraining our choices as creators, we can actually expand our creative capacities.
I’ve worked as a commercial and editorial photographer for nearly two decades, covering everything from breaking news to portraiture, sports, architecture, food and travel. Over the years, I’ve acquired a ton of gear. As I learned in Cub Scouts, “Be prepared,” and from my dad, “Use the right tool for the job.” But when it comes time to pack my bag for a travel photography assignment, I’m confronted with the challenge of too many choices. “You know,” I think to myself, “that 600mm lens I use for surf photography could really kill on this landscape assignment.” Pretty soon my bag weighs 40 lbs, my back is screaming, and I’m busy thinking about which lens I’m going to use rather than paying attention to the moment and actually getting the shot.
But the dilemma of too many choices doesn’t just affect us in gear selection. It’s a problem at every step of the photographic endeavor–from prep to post-processing–and the solution demands discipline, confidence (born from practice), and a keen understanding of the story. In this article, I want to walk through how I prepare for assignments and how I operate in the field. I’ll share some approaches I use to reduce choices in my process–how I use restraint to stay nimble when shooting, utilize simplicity in my images, and achieve visual consistency in my storytelling. At the end of this essay, I’ll share a fun and easy exercise any photographer can do to put these concepts into practice. And fun really is the name of the game, because if you’re not enjoying the work–if it feels more like work than art, a calling, or an adventure–then it’s unlikely you’ll stick with photography long enough to actually get good at it.
Sure, a long lens like the Nikkor Z 180-600 works well for some landscape images, but do you really want to haul it around on a travel assignment? For this shot of snow flurries in Japan’s Minami Alps mountain range, I had the lens in a case in my car. If I was traveling by train, bus, or on foot, it likely would have stayed home.
Going Light: Learning to leave the gear at home
I’ve (over)packed my bags for assignments enough over the years that I’ve established some guidelines for prep days. The goal is to free up my decision-making capacity so I can focus on what really matters–subject, moment, composition, light, color, and story. These aren’t hard and fast rules and the decisions are always dependent on the job, but I’ll share a few suggestions here:
Zooms or primes? Choose one approach. If the assignment calls for speed and versatility, I’ll leave the primes at home. If it’s a slower, more documentary-type assignment, I’ll bring a set of three or four primes. Only very rarely will I bring both zooms and primes on an assignment. For example, this story on Christian congregations in Japan that I shot for Christianity Today involved a lot of portraiture and quiet, reflective moments in churches. I packed primes and took my time to thoughtfully select the lens that worked for each scene or subject. No strobes on this one either, working purely with available light. This approach allowed me to be intentional, tuned in, and connected with my subjects.
Flash or available light? Adding strobes and modifiers to your bag can be the right call, especially, say, on a food and beverage assignment or a portrait shoot. However, it also adds another level of complexity and more choices to the mix. This can work against you when you’re shooting on someone else’s schedule, and as you’re trying to establish a unique vision and visual consistency in a story. Forcing yourself to work without them will help you start to see the natural interplay of light and shadow, a crucial skill in photography that will spill over to all of your other work. Alternatively, if you choose to use strobes, you may want to stick with that approach across the body of work.
Use a checklist and then cross as much as you can off of it. I keep a spreadsheet of all my gear, and I’ll print it out when prepping for an assignment. The goal isn’t to remember to pack everything, but to leave as much at home as I can get away with. Batteries? Check. Tripod? Maybe not. A fast shutter speed on a waterfall shot says “adventure” a lot louder than a wispy long exposure.
I’m not going to pretend these aren’t tough decisions, but I’d rather make them as I’m prepping in my studio than when I’m shooting on the trail. Consider the story, talk to your editor if you’re working with one, make a mood board, and settle on your approach beforehand. Having a good sense of the subject, your client, and your audience will help you know which tools to carry.
A waterfall like this one will often have photographers reaching for their tripod. I had opted not to bring one on this travel assignment hiking through the Kiso Valley. A fast shutter speed captured the intensity of the plummeting water as two Shinto priests practice takigyo (滝行) waterfall meditation at Kiyotaki Falls on the Ontake pilgrimage trail in Nagano Prefecture.
Focus on the Story
Once you’re in the field, you’ll face a barrage of choices. If you’ve prepped and packed right, you’ve dramatically narrowed the range of those choices, but they will still feel limitless. Photography is, after all, all about decisions–where to point the camera, what to include in the frame, when to hit the shutter. My advice here is to be present and to be mindful of what’s happening around you. The goal is to avoid the distraction of your camera, to avoid solving technical puzzles that pull you out of the moment and prevent you from getting that locked in feeling–the photographer’s flow state. You put in the prep, pared down your toolkit, and you can trust it will do the job. Now enjoy the shoot.
To do this with confidence, however, you’ll need to know your gear inside and out. Mostly this is born from practice, and the exercise at the end of this post will help you here. Still, there are a few things you can do to simplify things in the field:
Use customized settings banks
I use both Fujifilm and Nikon mirrorless cameras, and both feature custom settings banks that are extremely useful. If your camera has these and you’re not using them, now is the time to start. Again, this is about saving your decision-making capacity for creative choices by reducing complexity. Rather than constantly adjusting individual settings–or digging through menus instead of watching your surroundings–you can create mirrorless camera settings for the scenarios you’re most likely to face and switch quickly as the story unfolds.
How does this look in practice? On my Fuji X-H2 and X-H2s, for example, I have a dial with seven customizable settings banks, plus the Manual, Aperture Priority, and Shutter Priority settings. I generally have both my cameras set up exactly the same, with C1 set to general people photography using A priority, 1/200 setting, Auto ISO, white balance at 5500k, dynamic area focus, etc. C2 might be for portraits with a slightly slower shutter speed, lower ISO, eye priority auto focus, and so forth. C3 might be for action, using S priority, higher ISO, and drive mode set to 15 frames per second or even higher. Depending on the shoot, I might have a custom bank for food photography, one for lowlight scenarios, another for landscapes or silent shooting inside a temple. What I’m doing here is reducing essentially infinite possible configurations down to just a handful, turning a complex computer into a simple but effective creative tool.
Presets are just a starting point–they won’t replace your instincts in the field. Light, motion, and subject matter change too quickly for any bank to cover every possibility. But using them frees up mental bandwidth for storytelling, composition, and developing your unique vision.
2. Use a preset white balance–and stick with it
Another way I simplify my photography workflow is by locking in a preset white balance rather than relying on Auto WB. I almost always set mine to 5500K, a clean daylight baseline that keeps color consistent and looks natural across most shooting conditions. Auto WB may seem convenient, but it changes constantly as the light and the scene shifts, which means your files can come back looking inconsistent. By starting with a fixed white balance, I know my color will stay stable across a series, whether I’m working with my Fujifilm X-H2, X-H2s, or with my Nikon .
This restriction saves me from making yet another decision in the field, and it speeds up editing because I’m not correcting wild color swings frame to frame. If the scene calls for a creative shift–say, warmer tones for food photography or cooler tones for a night street scene–I can make that change deliberately, not because my camera guessed differently shot to shot.
Visual consistency is key to creating a cohesive story, and using a single white balance preset and sticking with that throughout the shoot helps achieve that while also removing another layer of choice that can paralyze you creatively.
3. Limit your visual approach


Another way to boost creativity by reducing choice is to set clear limits on how you’ll see before you even start shooting. When I was approached for a travel photography project by the tourism office in Hamamatsu, a beautiful coastal city in Shizuoka Prefecture, they had one requirement: shoot entirely in portrait orientation and crop all images to Instagram’s 4:5 aspect ratio. So I committed to that frame from the start. Working within those boundaries changed how I saw, with details, shapes, and entire scenes revealing themselves differently because I wasn’t bouncing between verticals and landscapes. What felt like a restriction at first ended up opening a new field of vision and expanding my creative repertoire. In client work, these kinds of constraints can be opportunities. By embracing them, you not only simplify your process but also deliver images that meet the brief with consistency and style.
An Exercise in Visual Discipline
A great way to practice simplifying your photography workflow is to deliberately restrict your choices in a controlled exercise. The idea is to create a set of images under clear limitations that force you to focus on vision rather than gear. These kinds of mini self-assigned projects let you explore and develop your craft without the pressure of a client or a deadline. They’ll give you the confidence to avoid gear acquisition syndrom–the urge to buy the newest camera body or add yet another lens to your bag. And if you’re a travel photographer, knowing you can pack just one camera–always with a backup–and one lens, and still deliver a powerful set of images, opens a whole new world of creative possibilities. Plus, it frees up space in your suitcase for the gifts your friends and family are expecting when you get home.
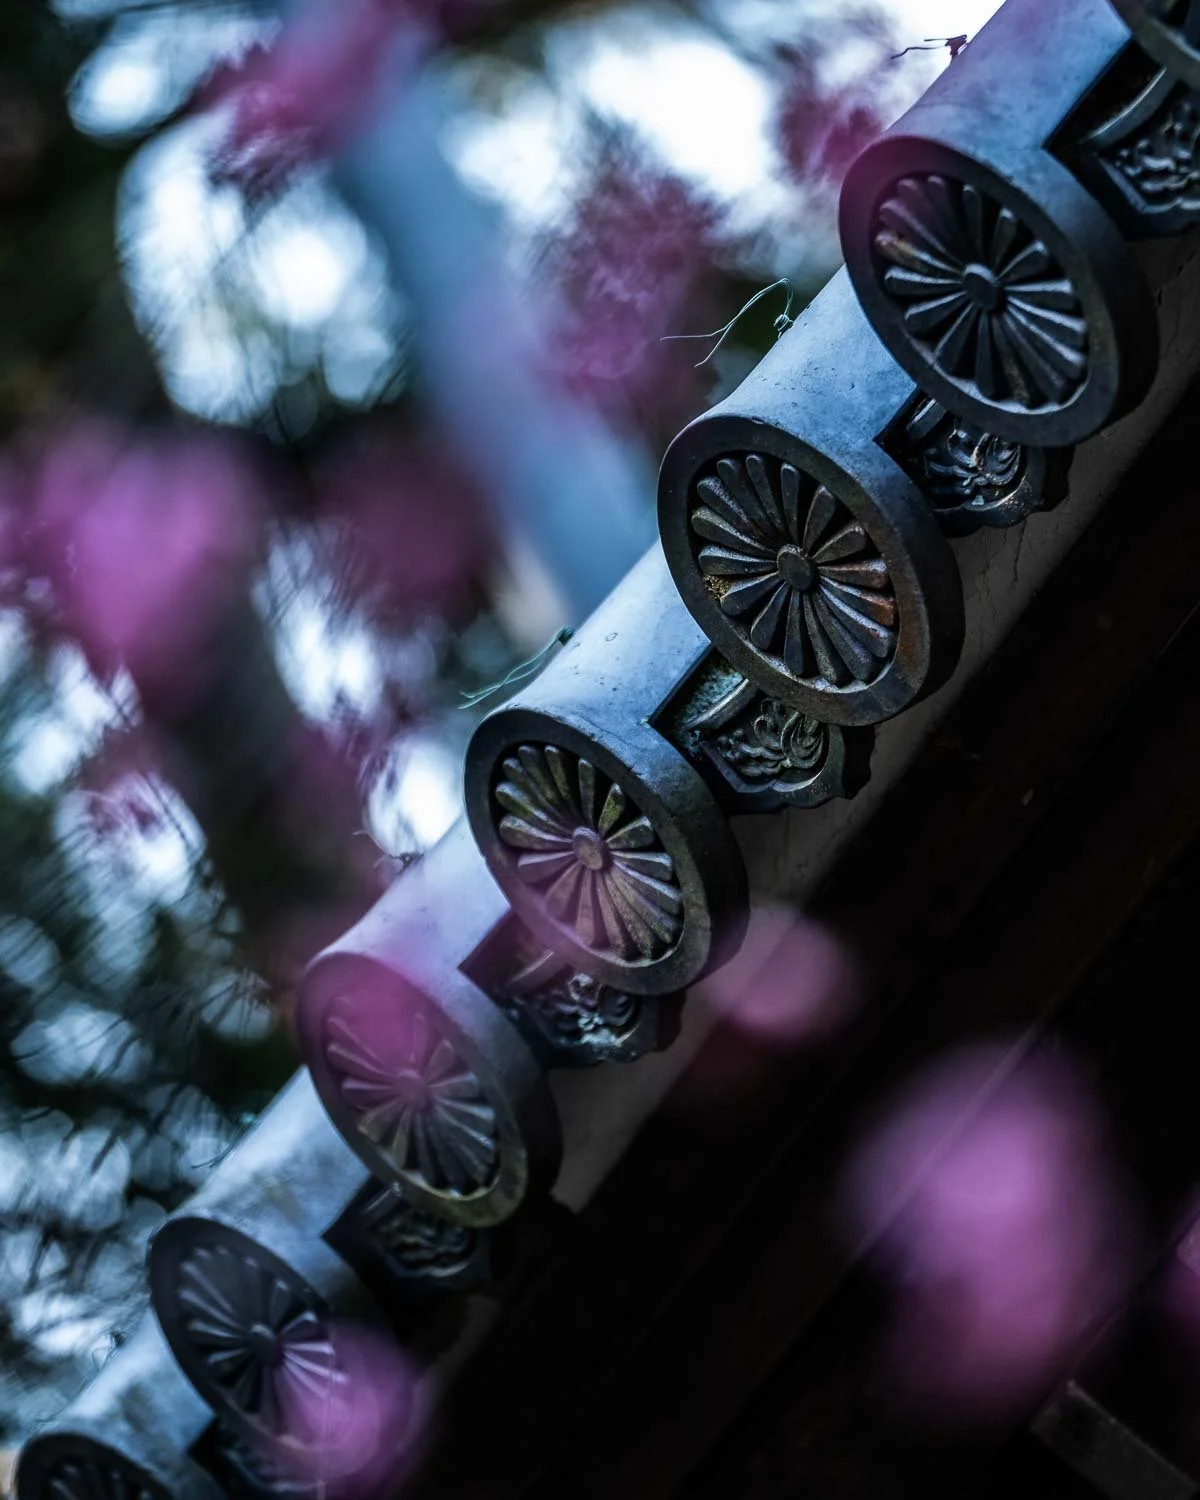
Here’s a version of this exercise I gave myself the other day. I was doing recce for a photo tour my friend Pete DeMarco will be leading here in November, and decided get some shooting in while I was at it. I set off on my bike with my youngest son, and after dropping him at school, I rode along the Shonan coast from Kugenuma, past Enoshima, and toward Kamakura, stopping frequently along the way to shoot. I only had a couple of hours, but I felt locked in the whole time. My setup was simple: a Fujifilm X-H2 with one of my favorite lenses, the Fuji 35mm f/1.4. I set the camera to Acros–Fujifilm’s black and white film simulation–and carried a loose theme in mind: “The Shore.” I came away with a set of images that documented this coastal landscape, but in a more still, pensive, abstract manner than is typical for me. The restrictions I imposed actually felt liberating–they shifted how I saw and gave the set consistency and visual rhythm I might not have achieved otherwise. And honestly, it was a lot more fun than hauling around a bag full of gear.


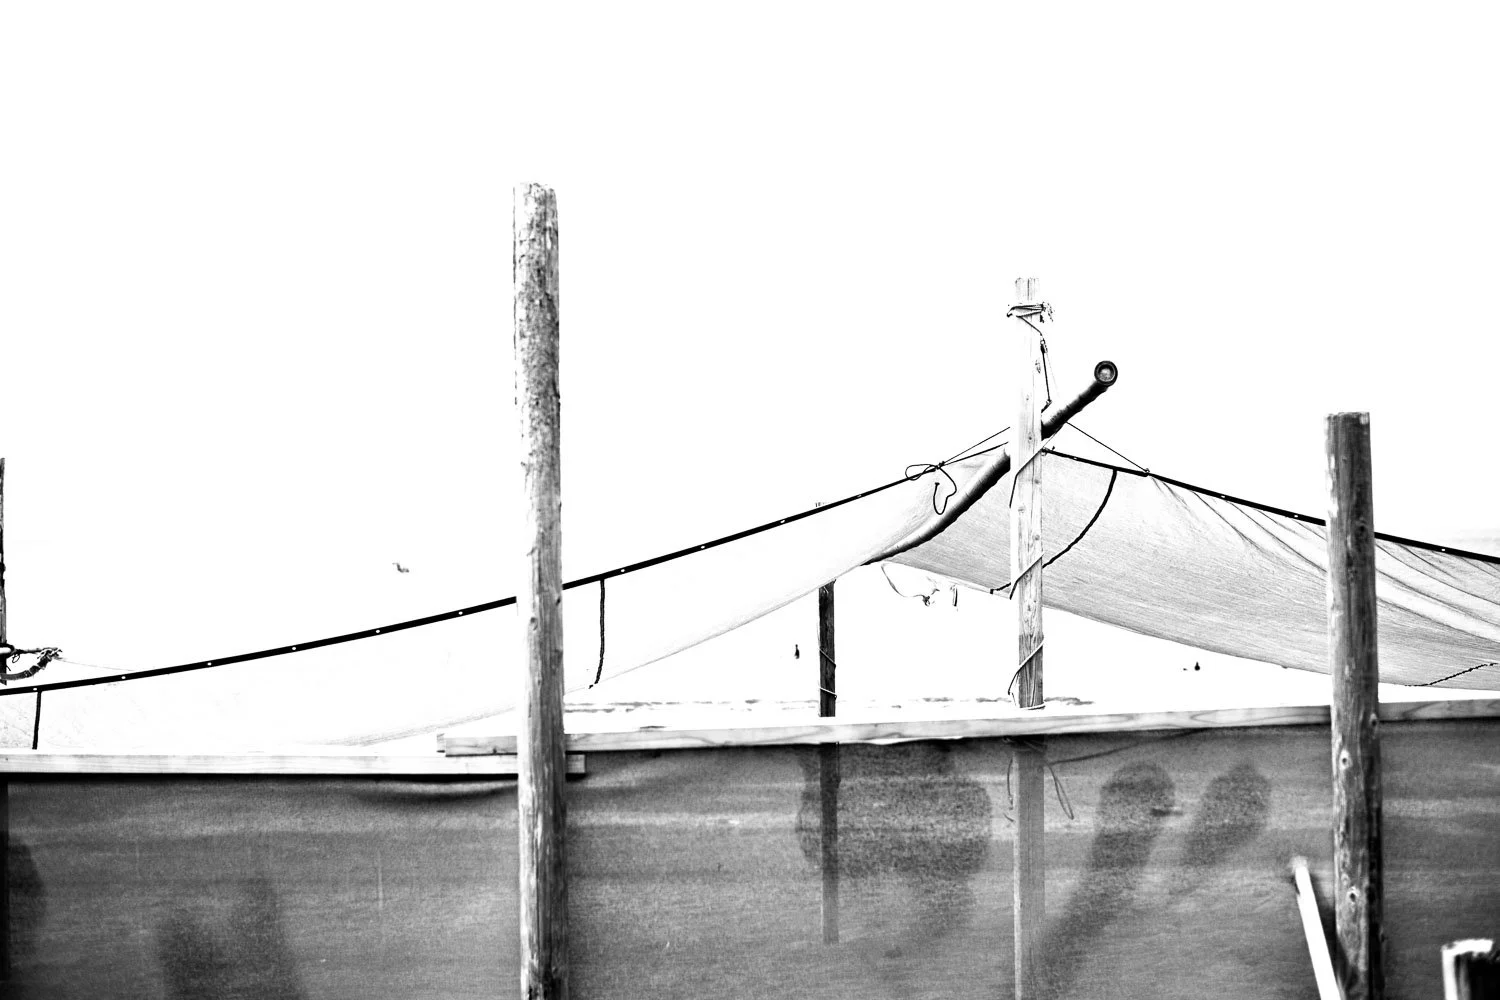


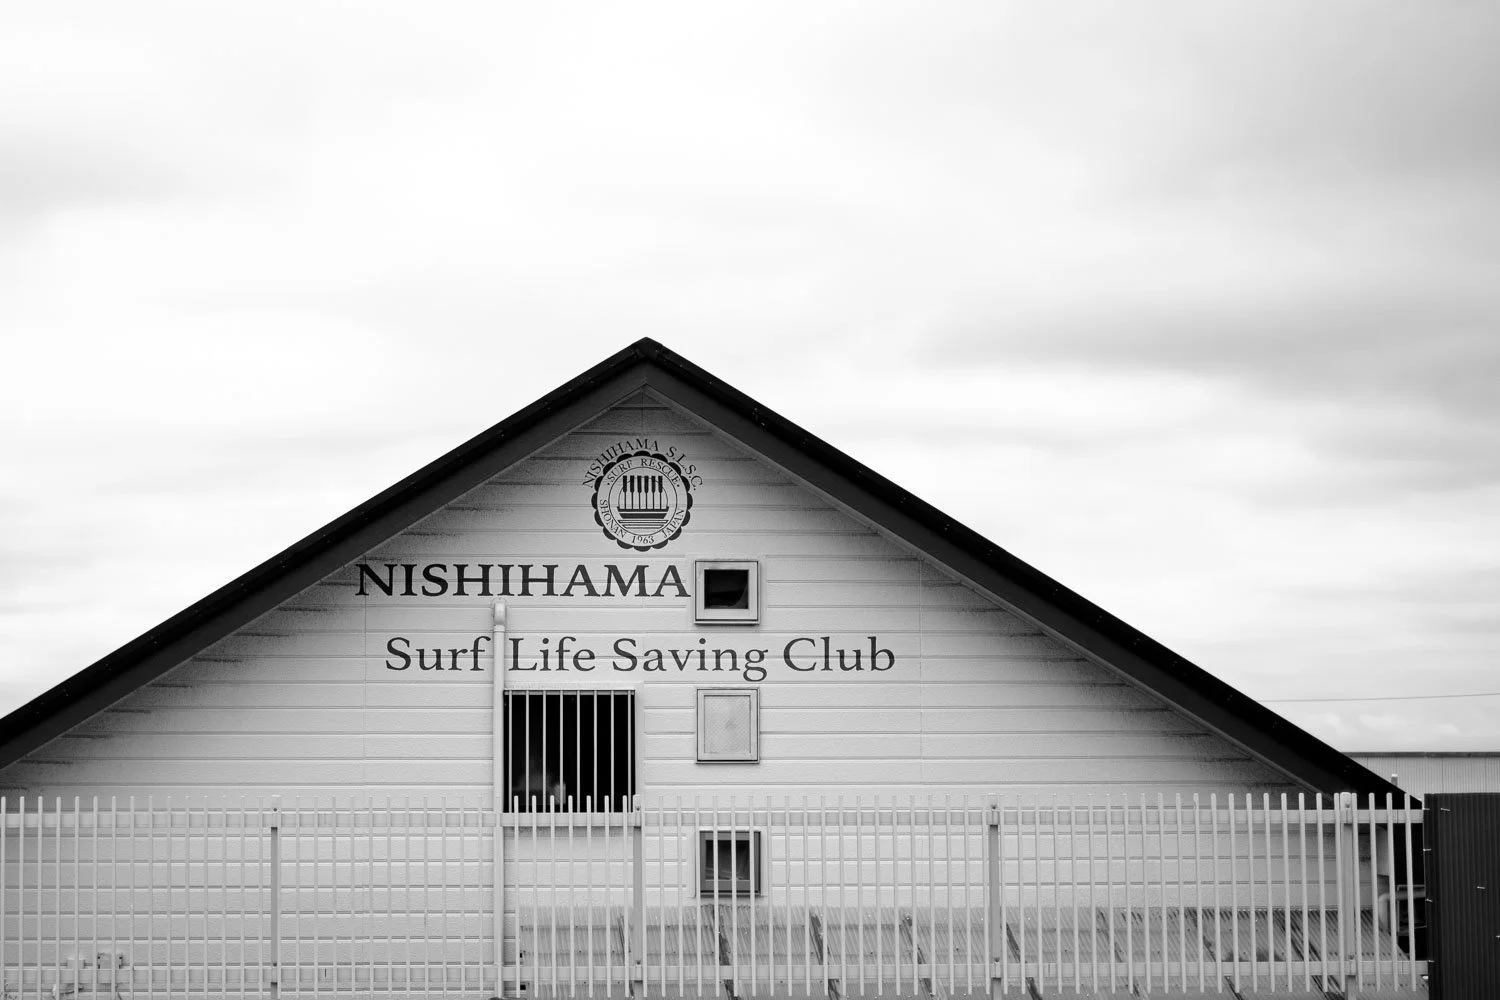


“The Shore” – One camera, one focal length photography project along Japan’s Shonan coast. Shot in black and white on the Fujifilm X-H2 with a 35mm lens, the series is a study of water, texture, and daily life by the sea. Self-assigned projects like this boost creativity and help editorial and travel photographers develop stronger stories by restricting choices and focusing on vision. For Japan travel photographer Ben Weller, the limitations of a pared-down kit opened up new ways of seeing and gave the work a consistent style that carries across the series. If you connect with this series, you can find a curated selection of images from “The Shore” in Ben’s fine art print gallery.
If you’d like to try a version of this exercise yourself, here are a few variations:
One Color Theme: Commit to finding one dominant color–red doors, blue signs, or the green of summer leaves–throughout your walk or ride.
One Type of Light: Shoot only in harsh midday sun, or only in shadow, or chase reflections and backlight. Limiting the light you allow yourself to use will help you pay closer attention to types of light and harness them when working on other assignments.
One Subject Matter: Faces, storefronts, surfboards, hands–pick one repeating subject and build a small series around it.
One Distance: Use only close-up shots for a day, or only wide environmental frames. The consistency sharpens your eye for scale and perspective.
One Location: Don’t move around. Spend an hour in a single city block, park, or café and see how many ways you can tell its story.
The point isn’t to make perfect pictures, it’s to practice setting boundaries so that your creative energy isn’t exhausted on endless choices. Within those limits, you’ll often discover new ways of seeing that carry over into every kind of work, from self-assignments to professional travel photography.
All images © Ben Weller. All rights reserved.
No part of these photographs may be copied, reproduced, stored, or used in any form—digital or print—without the express prior written permission of the photographer.